作者:hlfk77136 | 来源:互联网 | 2023-10-11 14:45
篇首语:本文由编程笔记#小编为大家整理,主要介绍了微信小程序|基于小程序+C#制作一个聊天系统相关的知识,希望对你有一定的参考价值。
此文主要基于小程序+C#使用WebSocket制作一个聊天系统,基本实现小程序与服务端的聊天功能。用小程序自带的客服功能只能绑定微信且一对一沟通,接入市面上成熟的即时通讯预算又略显不足,干脆自己开发一个也能应对简单的业务场景。

- 实现流程
- 1、服务端
- 1.1、项目创建
- 1.2、设计界面
- 1.3、服务端功能实现
- 2、小程序
- 2.1、小程序创建
- 2.2、页面设计
- 2.3、消息接收
- 2.4、消息发送
实现流程
1、服务端
1.1、项目创建
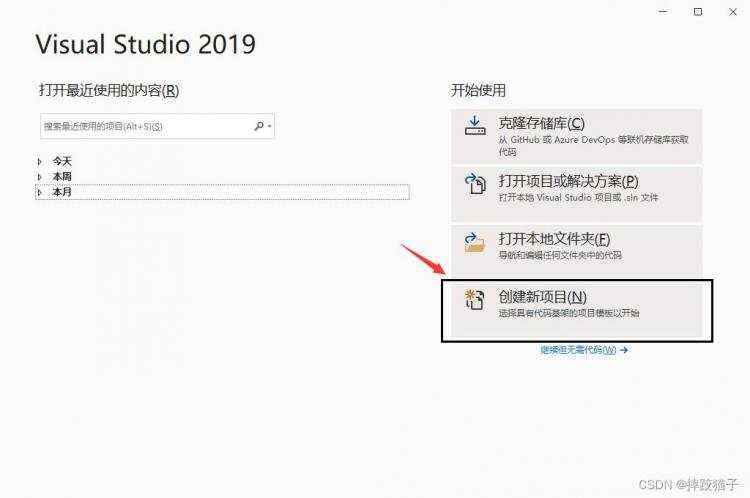
- 打开Visual Studio,右侧选择创建新项目。
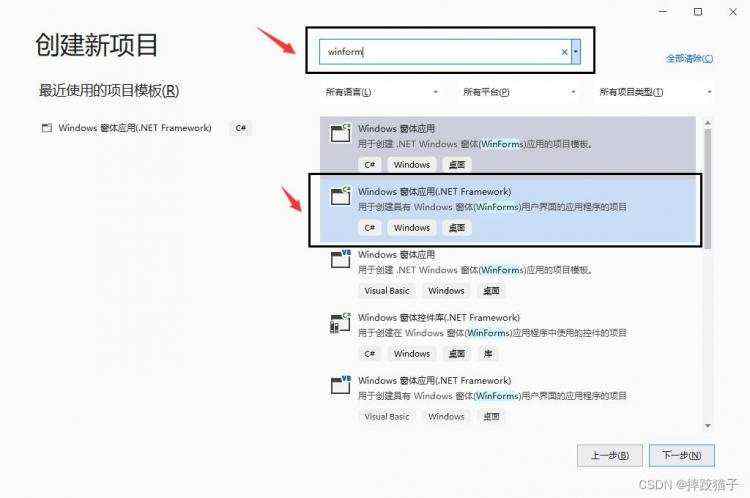
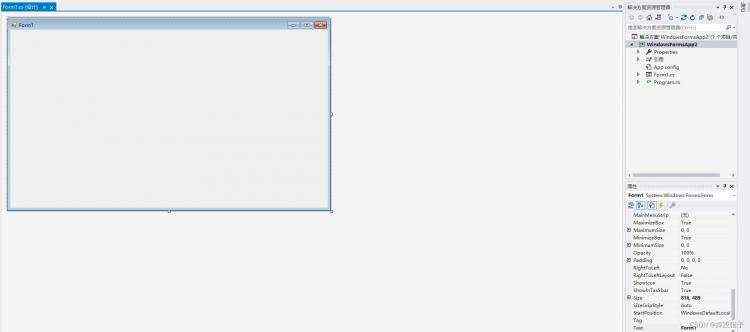
- 搜索框输入winform,选择windows窗体应用,填写对应的保存路径点击下一步,创建成功后如下图。
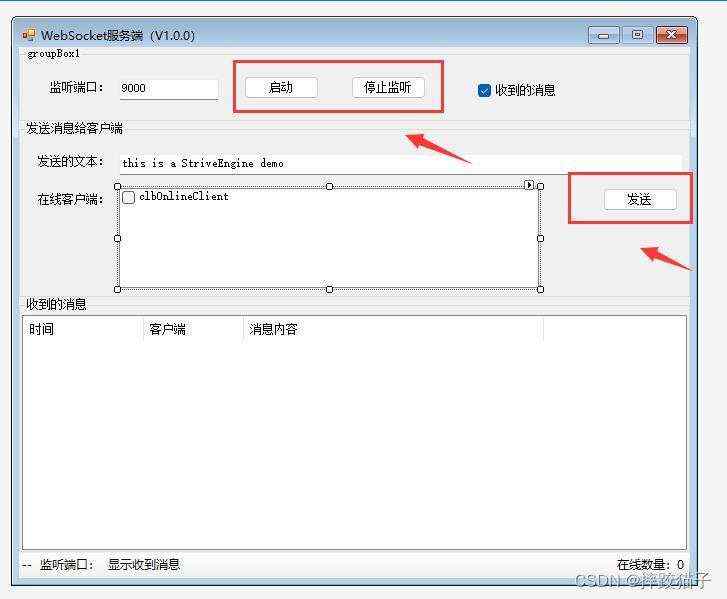
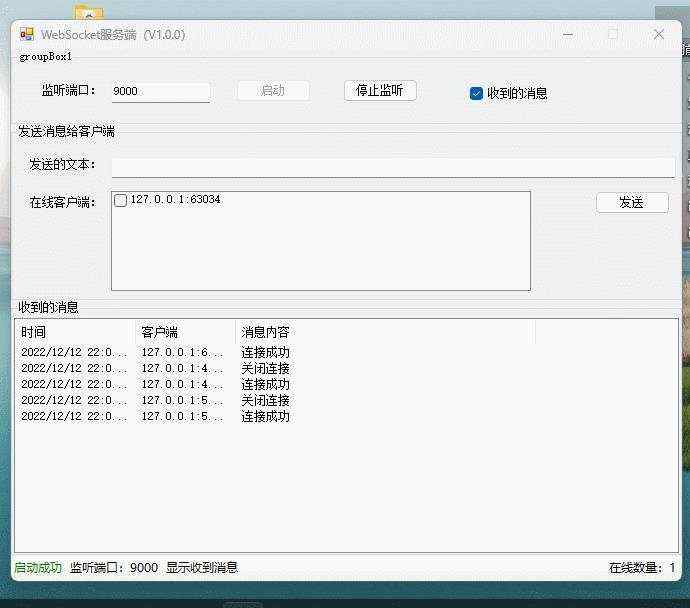
1.2、设计界面
- 在工具箱拖拽出lable文本标签修改其text属性填充标题。

- 拖拽textbox控件到窗体上用于输入所监听的端口号及发送的文本信息等。

- 接下来依次拖入button控件及listview控件实现按钮及消息面板样式。
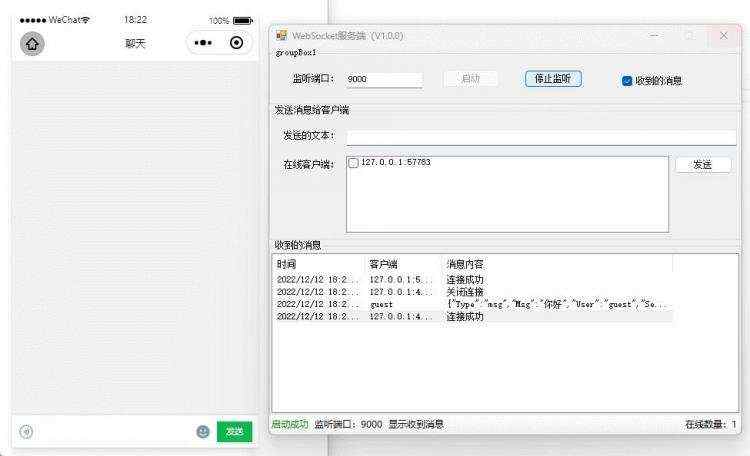
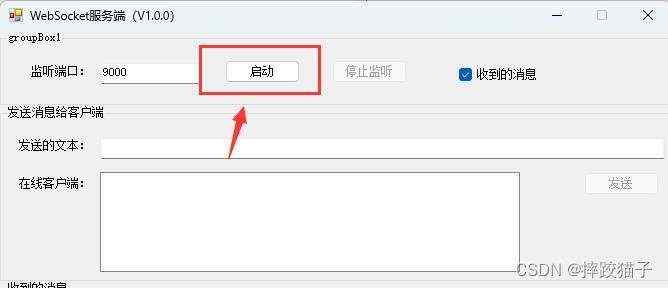
1.3、服务端功能实现
- 实现websocket服务端启动功能。
双击button按钮,会生成对应的按钮事件,在事件代码中先获取端口号文本框输入的值是否正确。
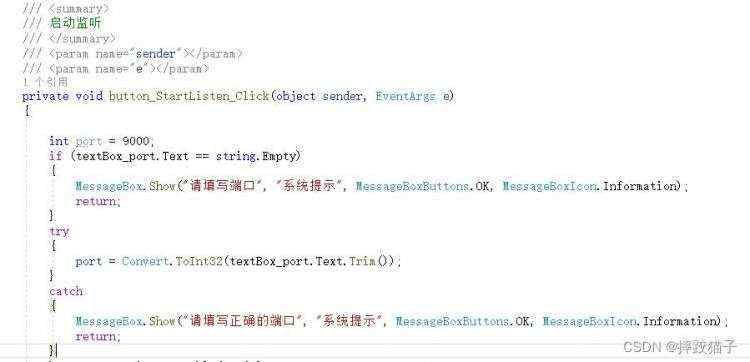
 int port = 9000;
 if (textBox_port.Text == string.Empty)

       MessageBox.Show("请填写端口", "系统提示", MessageBoxButtons.OK, MessageBoxIcon.Information);
       return;

   try

       port = Convert.ToInt32(textBox_port.Text.Trim());

   catch

       MessageBox.Show("请填写正确的端口", "系统提示", MessageBoxButtons.OK, MessageBoxIcon.Information);
       return;
在点击后,将按钮禁用,避免用户重复点击的同时开启服务端。
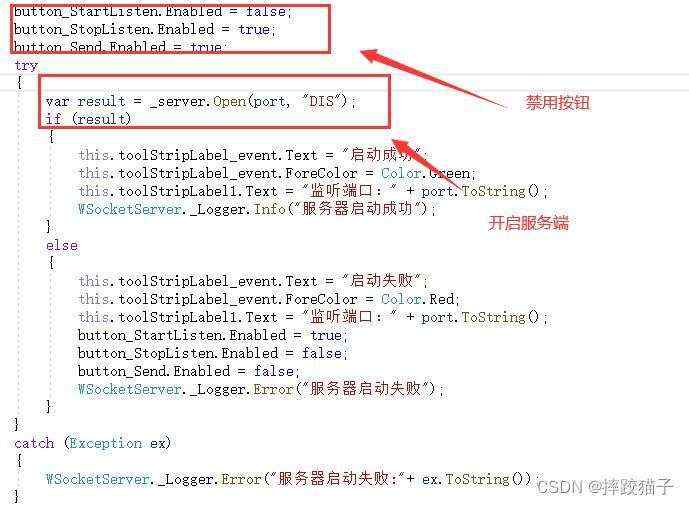
try

         var result = _server.Open(port, "DIS");
         if (result)

             this.toolStripLabel_event.Text = "启动成功";
             this.toolStripLabel_event.ForeColor = Color.Green;
             this.toolStripLabel1.Text = "监听端口:" + port.ToString();
             WSocketServer._Logger.Info("服务器启动成功");

         else

             this.toolStripLabel_event.Text = "启动失败";
             this.toolStripLabel_event.ForeColor = Color.Red;
             this.toolStripLabel1.Text = "监听端口:" + port.ToString();
             button_StartListen.Enabled = true;
             button_StopListen.Enabled = false;
             button_Send.Enabled = false;
             WSocketServer._Logger.Error("服务器启动失败");


     catch (Exception ex)

         WSocketServer._Logger.Error("服务器启动失败:"+ ex.ToString());
实现开启服务端的方法,这里需要对websocket的各项信息进行配置。

this.WebSocket = new WebSocketServer();
var serverConfig = new ServerConfig
Name = serverName,
MaxConnectionNumber = 10000,
Mode = SocketMode.Tcp,
Port = port,
ClearIdleSession = false,
ClearIdleSessionInterval = 120,
ListenBacklog = 10,
ReceiveBufferSize = 64 * 1024,
SendBufferSize = 64 * 1024,
KeepAliveInterval = 1,
KeepAliveTime = 60,
SyncSend = false
;
SocketServerFactory socketServerFactory = null;
if (isUseCertificate)
serverConfig.Security = serverSecurity;
serverConfig.Certificate = new SuperSocket.SocketBase.Config.CertificateConfig
StoreName = serverStoreName,
StoreLocation = System.Security.Cryptography.X509Certificates.StoreLocation.LocalMachine,
Thumbprint = serverThumbprint
;
socketServerFactory = new SocketServerFactory();
- 实现消息发送功能。
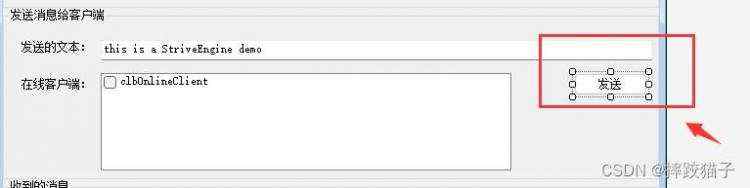
双击发送按钮,获取客户端网络节点号向其发送数据并将发送的文本填充至消息面板。
string remoteEndPointStr = session.RemoteEndPoint.ToString();
if (remoteEndPointStr == s)
try
ReceiveData sendData = new ReceiveData();
sendData.User = "guest";
sendData.Type = "msg";
sendData.Msg = textBox_msg.Text.Trim();
sendData.SendTime = DateTime.Now.ToString("yyyy-MM-dd HH:mm:ss");
_server.SendMessage(session, JsonConvert.SerializeObject(sendData));
this.BeginInvoke(addListView, "guest", JsonConvert.SerializeObject(sendData));
MessageBox.Show("发送成功", "系统提示", MessageBoxButtons.OK, MessageBoxIcon.Information);
return;
catch (Exception ex)
WSocketServer._Logger.Error(ex.ToString());
MessageBox.Show(ex.ToString(), "系统提示", MessageBoxButtons.OK, MessageBoxIcon.Information);
return;
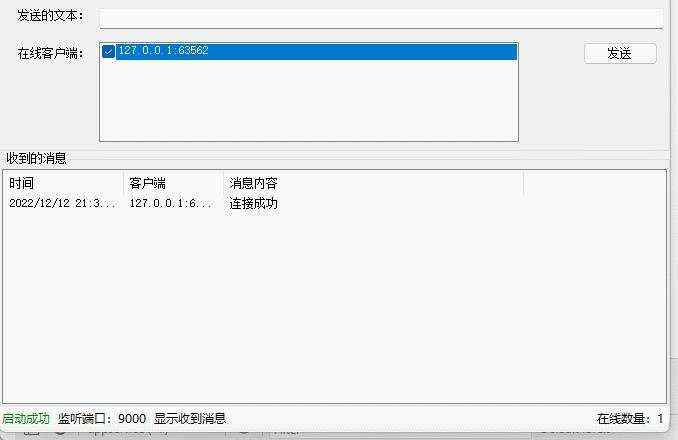
- 实现消息监听功能,接收来自客户端的数据并进行展示。
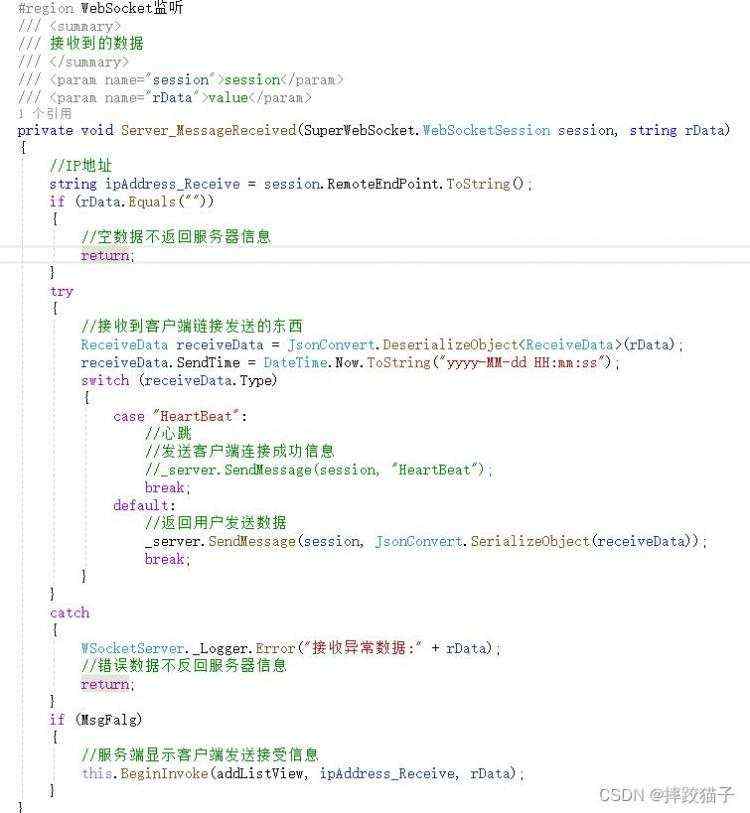
private void Server_MessageReceived(SuperWebSocket.WebSocketSession session, string rData)
string ipAddress_Receive = session.RemoteEndPoint.ToString();
if (rData.Equals(""))
return;
try
ReceiveData receiveData &#61; JsonConvert.DeserializeObject<ReceiveData>(rData);
receiveData.SendTime &#61; DateTime.Now.ToString("yyyy-MM-dd HH:mm:ss");
switch (receiveData.Type)
case "HeartBeat":
break;
default:
_server.SendMessage(session, JsonConvert.SerializeObject(receiveData));
break;
catch
WSocketServer._Logger.Error("接收异常数据:" &#43; rData);
return;
if (MsgFalg)
this.BeginInvoke(addListView, ipAddress_Receive, rData);
2、小程序
2.1、小程序创建
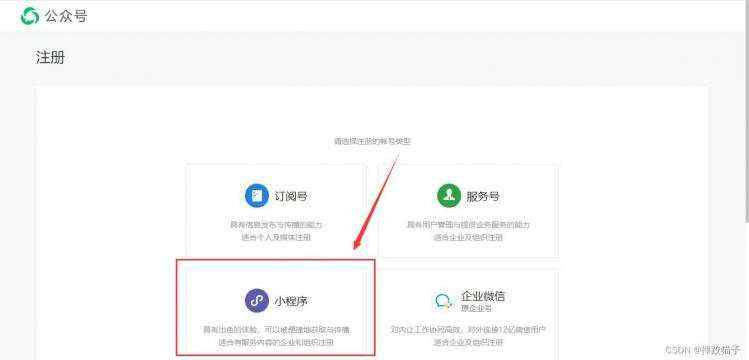
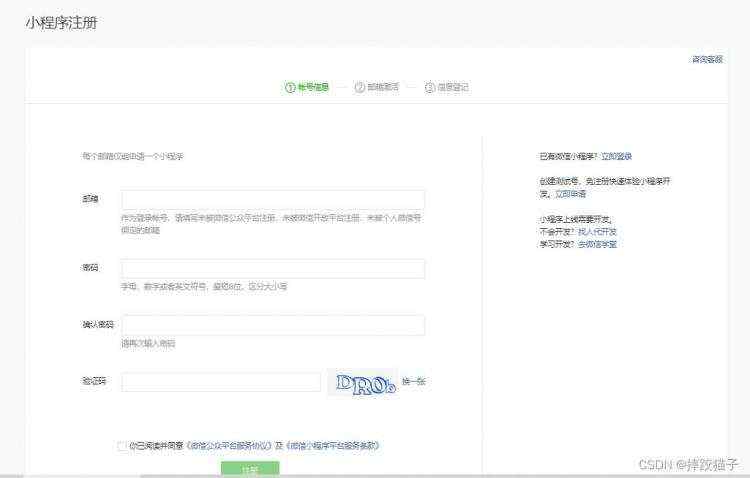
- 访问微信公众平台&#xff0c;点击账号注册。

- 选择小程序&#xff0c;并在表单填写所需的各项信息进行注册。
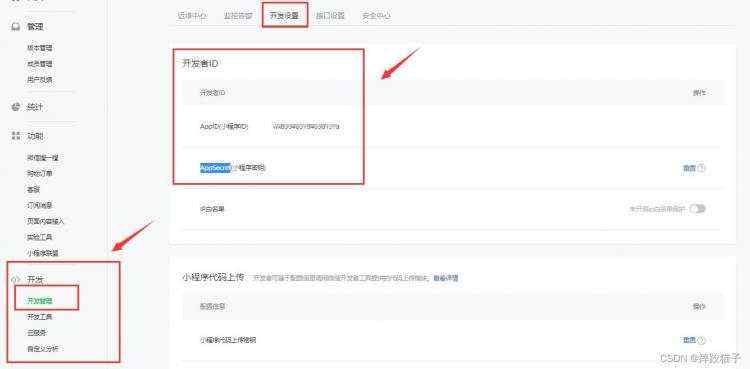
- 在开发管理选择开发设置&#xff0c;将AppID及AppSecret复制出来进行存储。
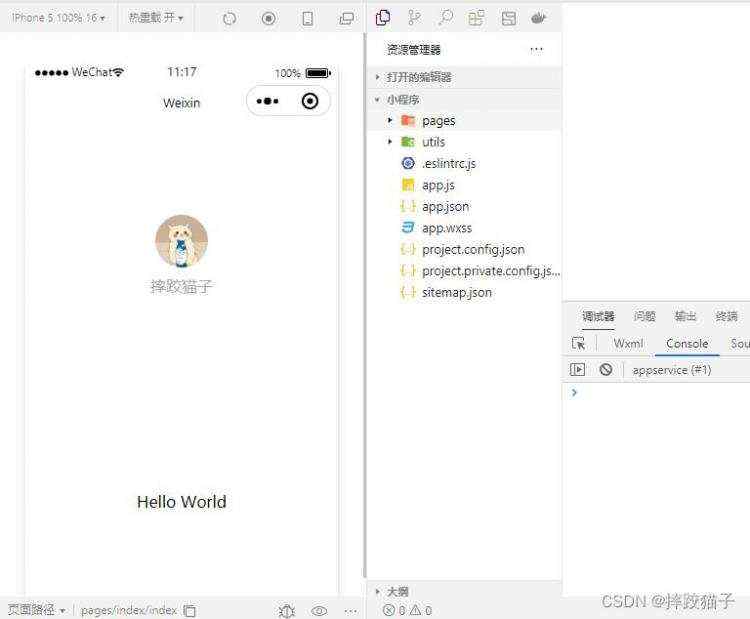
- 下载安装微信web开发者工具并创建一个新的项目&#xff0c;填入上图所复制的AppId。

2.2、页面设计
- 页面上根据发送人判断消息在哪边展示&#xff0c;同时还需要提供一个文本框以及按钮实现发送功能。

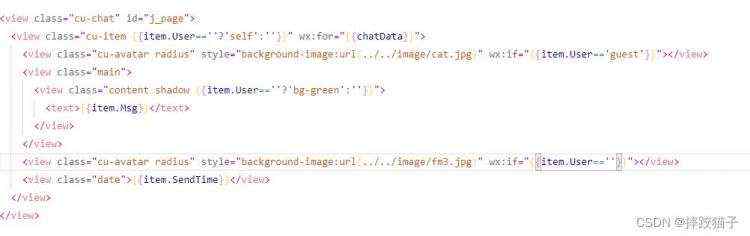
<view class&#61;"cu-chat" id&#61;"j_page">
  <view class&#61;"cu-item item.User&#61;&#61;&#39;&#39;?&#39;self&#39;:&#39;&#39;" wx:for&#61;"chatData">
    <view class&#61;"cu-avatar radius" style&#61;"background-image:url(../../image/cat.jpg)" wx:if&#61;"item.User&#61;&#61;&#39;guest&#39;"></view>
    <view class&#61;"main">
      <view class&#61;"content shadow item.User&#61;&#61;&#39;&#39;?&#39;bg-green&#39;:&#39;&#39;">
        <text>item.Msg</text>
      </view>
    </view>
    <view class&#61;"cu-avatar radius" style&#61;"background-image:url(../../image/fm3.jpg)" wx:if&#61;"item.User&#61;&#61;&#39;&#39;"></view>
    <view class&#61;"date">item.SendTime</view>
  </view>
</view>
- 通过文本框的blur事件获取用户所输入的内容。

  formMsg(e)
    this.setData(
      content: e.detail.value.trim()
    )
  ,
2.3、消息接收
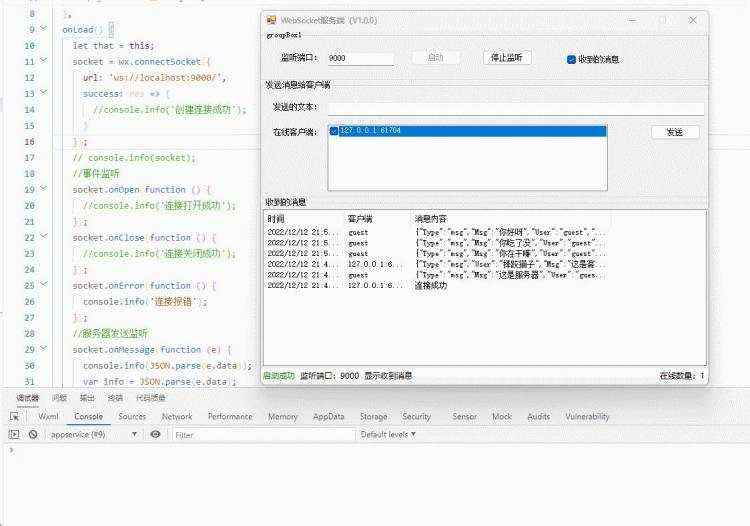
- 在js的onload事件中创建websocket的连接&#xff0c;同时监听来自服务端的消息&#xff0c;端口号可以改成配置型。

let that &#61; this;
socket &#61; wx.connectSocket(
url: &#39;ws://localhost:9000/&#39;,
success: res &#61;>
);
socket.onOpen(function ()
);
socket.onClose(function ()
);
socket.onError(function ()
console.info(&#39;连接报错&#39;);
);
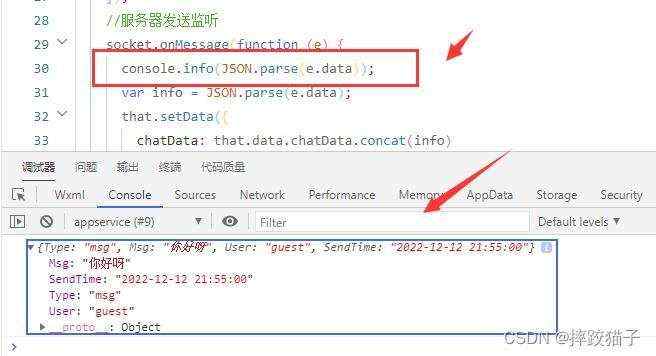
socket.onMessage(function (e)
console.info(JSON.parse(e.data));
var info &#61; JSON.parse(e.data);
that.setData(
chatData: that.data.chatData.concat(info)
);
);
- 在监听的回调中&#xff0c;将服务端发送的文本进行打印可以看到效果如下图。
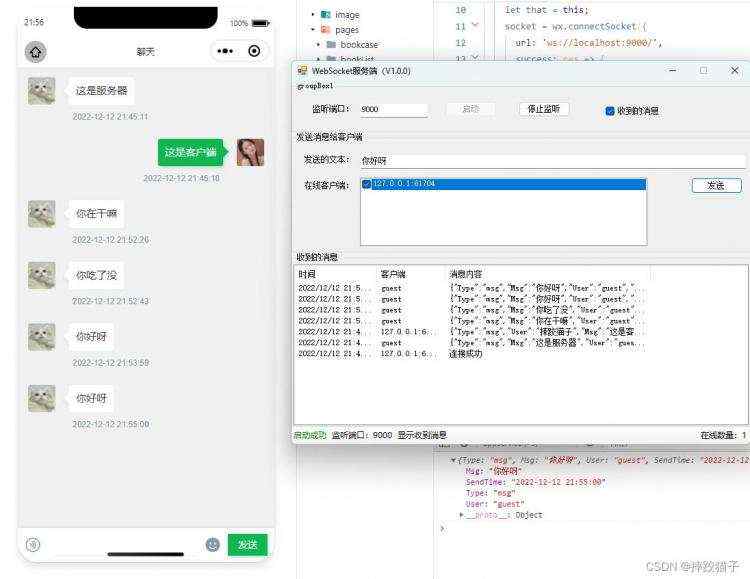
- 根据其格式将数据在页面上进行渲染&#xff0c;效果如下。
2.4、消息发送
- 发送按钮绑定自定义函数&#xff0c;获取文本框中用户输入的值&#xff0c;并通过websocket的内置函数将数据进行传输&#xff0c;这样服务端就能对数据进行接收展示。
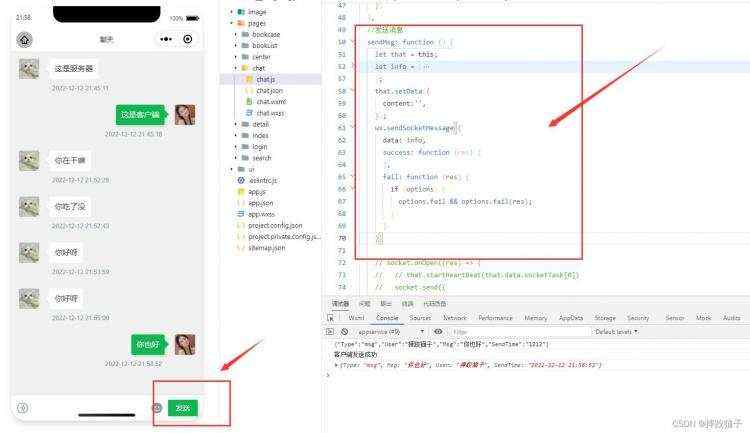
    wx.sendSocketMessage(
      data: info,
      success: function (res)
      ,
      fail: function (res)


    )
有兴趣的小伙伴可以在文章基础上进行拓展&#xff0c;可以增加例如群发、文件、图片发送等更加实用的功能。


 京公网安备 11010802041100号